If you’ve never ridden an E-bike, they are a blast! The electric motor has levels of “pedal assist” that will kick in and help you when you need some extra power. Going up hills for example, you can up the level of assist and make it fairly easy to climb them. How much assist you use is completely up to you. You can also not pedal at all or take a breather if you need it and use the throttle. These bikes can accelerate up to 28 mph all on their own. Like I said, they are a lot of fun!
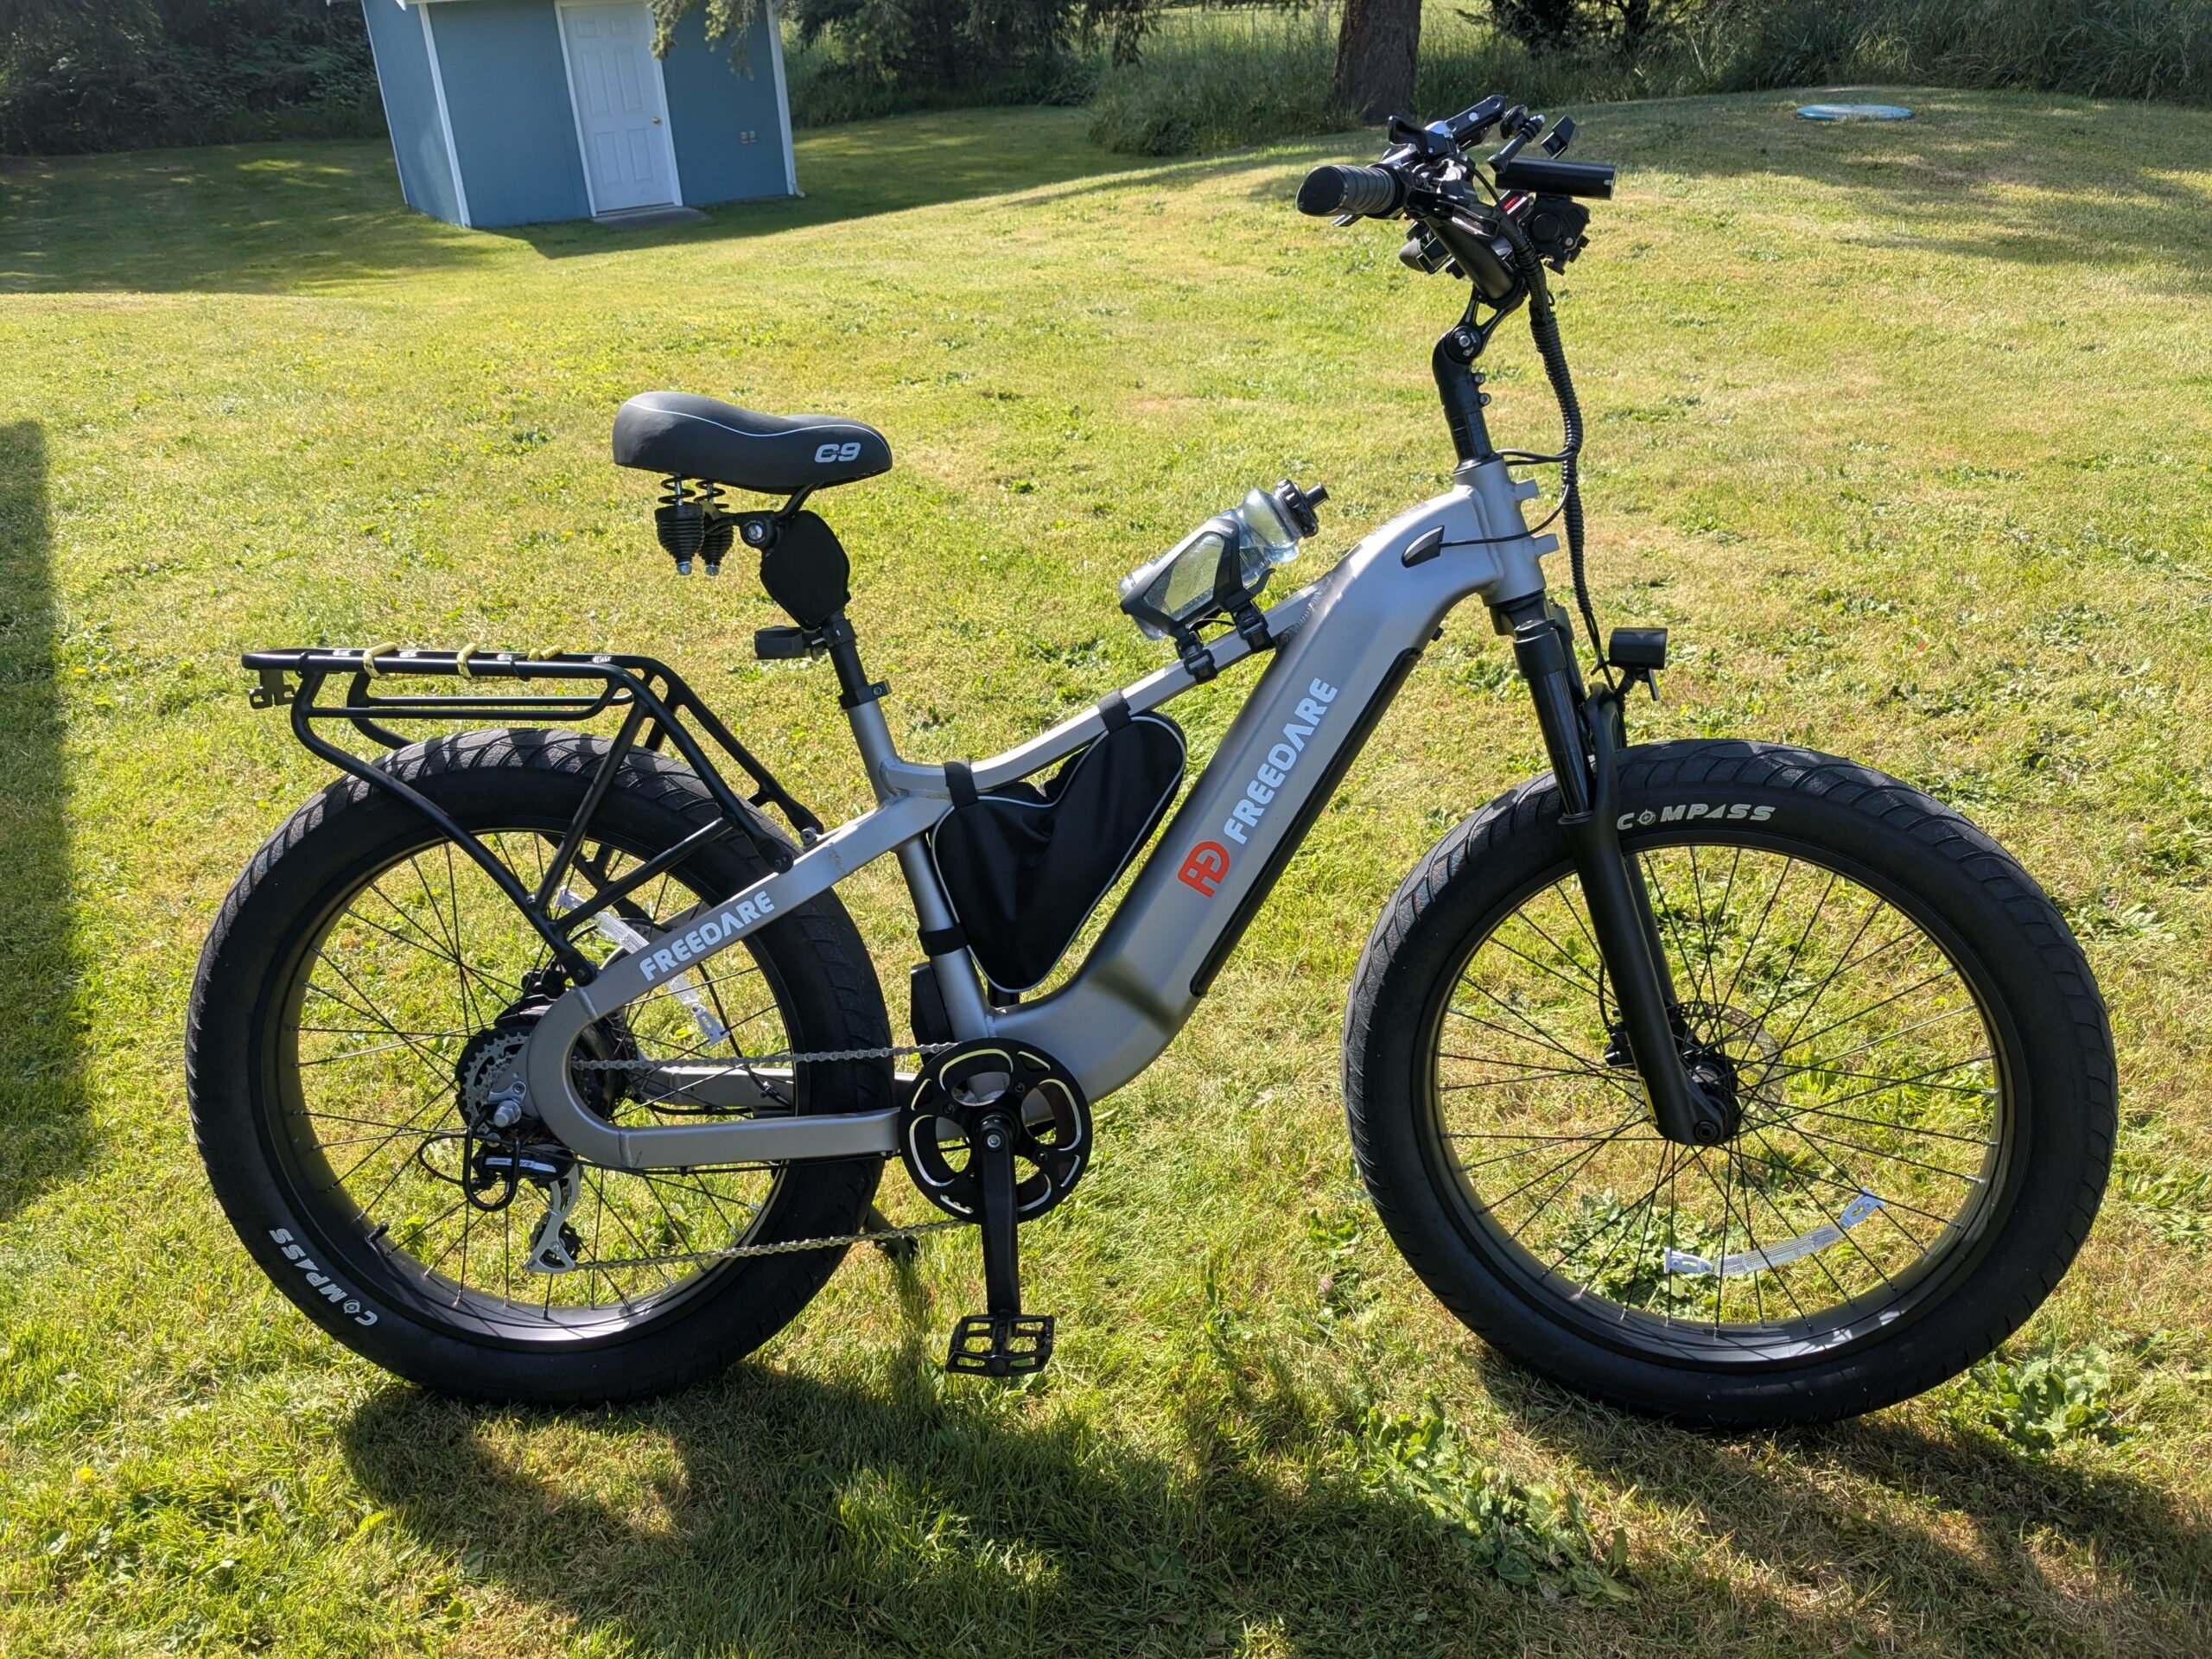
My first E-bike was a Rad Rover. They were a very popular brand back when I got that bike. There were far less choices back then as well. I ended up selling that bike to my brother a couple of years ago and this time around when I wanted to get another one, it seems like there are hundreds of brands to choose from. After watching a ton of Youtube videos and joining the Facebook group, this time around I chose a Freedare Saiga.
I really liked the look of the “high step” model and the top bar was much lower than most making it easier to get on and off. These bikes are big and heavy, so you have to be careful getting on and off of them. Especially at my age when I’m not nearly as flexible as I used to be. Many older riders will choose the step through model which makes it much easier to get on and off.
Another very cool feature set of the Freedare Saiga is the ability to connect with an app. It also has built in GPS and will alert you if the bike is moved at all. Even if it’s stolen, you can locate it using the app and built in GPS. If you’d like to learn more about the Freedare Saigi, click the link below to see many Youtube reviews: https://www.youtube.com/results?search_query=freedare+Saiga
While the bikes do come nicely equipped, there are some areas that can use improvement. Since these bikes are “hard tails” (meaning no rear suspension), one of the best mods you can do is add a suspension seat post along with a better, more comfortable seat. I’ll list those and all the other mods I’ve done to my Freedare and why I chose them. I’ll also prioritize them from what I feel are the most important, must have mods to those that are optional and more of a personal choice. I’ll provide Amazon affiliate links for each product. That just means I’ll make a few cents if you purchase through my links. There is no extra cost to you.
I’ll include a few pictures first below. Just click on any image to enlarge it and you can then scroll through the images by clicking on the small arrows to the left and right. If you have any questions or suggestions, please leave a comment below. Enjoy and thanks!


")


Recommended add ons and accessories list:
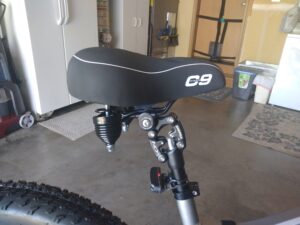 One of the best things you can do for your comfort on your new ebike is to add a new seat and suspension seat post. These bikes are called “hard tails” for a reason… they have no rear suspension so your backside takes the full punishment of bumps. The Cloud 9 seat is used by thousands of ebike owners and is super comfortable. The Cloud 9 seat combined with the Suntour suspension seat post will really help smooth out the ride on your rear end. One of the first mods you should do in my opinion.
Cloud 9 Suspension seat: https://amzn.to/3X9ZdRn
Suntour Suspension seat post: https://amzn.to/4cC60Yr
 Most of the mountain bike type ebikes are going to come with very flat handlebars. What this means is that you’ll be forced into a leaning forward position and it puts a lot of stress on your wrists and shoulders. So getting higher handlebars helps in a couple of ways. First it raises the bar and controls and puts you in a more upright and comfortable position. It also relieves the pressure on your wrists and shoulders so you’ll remain comfortable on longer rides.
780mm Aluminum Alloy Mountain Bike Riser Handlebar: https://amzn.to/4cbjjPh
 In addition to higher bars, you may want to also move the handlebars back and add even more rise and adjustment. I’m 6′-2″ and want a more upright seating position. The way the bike comes stock, it really leans you forward. This stem will move the bars back and up even more to help get you sitting up straighter and reduce the stress on your hands, wrists and back. Be aware however of your cables. You will start to reach the limit of some of them (rear brake cable especially), so make sure all cables have enough play when turning the bars from side to side.
GEWAGE Adjustable Bicycle Stem – https://amzn.to/3VLiMNJ
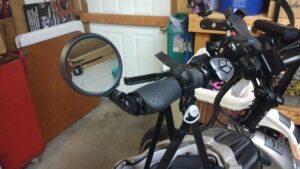
Being able to see traffic and what’s behind you is very important on any kind of bike. It’s one of the best things you can add for safety. I prefer the kind of mirror that inserts into the end of your handlebar. This insures the mirror is out far enough so that you get a good view behind you. This one is super easy to install and is fully adjustable.
Hafny Bar End HD Glass bike mirror: https://amzn.to/45KZPiK
 Another important step to take with your new Ebike is to add something to the tires to prevent flats. If you ride or live in an area with something like “goat heads”, it’s not a matter of if you’ll get a flat, but a matter of when. Adding Flat Out to your tires will plug any small holes that develop automatically. It’s a Kevlar type liquid used by the military that remains in liquid form inside your tire for up to 10 years! It’s also a very easy job to add it to both tires. One quart will do both the front and rear tire.
Flat Our Off Road tire sealant: https://amzn.to/45e9aPL
Here’s a great video showing how easy it is to add Flat Out to your tires:

While the Flat Out should stop most small leaks, it’s still a good idea to carry a patch kit with you just in case you have a bigger hole or leak in your tube. I picked this one up and it had a 50% discount and only cost $7 bucks. I also liked that it came in a nice box to keep everything organized.
PRO BIKE TOOL Tire Puncture Repair kit: https://amzn.to/3Vzuk7O
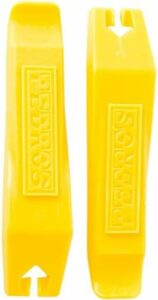
You’ll also want to have a couple of small tire removal tools in case you need to get the tire off the rim to get at the inner tube to patch a hole. Hopefully the Flat Out will take care of most small holes, but in case it doesn’t, you want to be prepared and have the necessary tools to fix your flat on the trail. Fortunately they are small and you can fit both your patch kit and these small “tire irons” in a small pouch like the one I list below. These also come with a lifetime replacement guarantee if you ever break one.
Pedro’s Bicycle Tire Lever Pack of 2 – https://amzn.to/3KISAOz
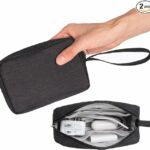 While I do have a bigger bag on my bike, I want to keep my small patch kit and tools separate in their own little pouch. I found these inexpensive pouches that I think are the perfect size. You can store the patch kit along with the Pedro’s tire tools nicely in these and that way they aren’t all over the place in my bigger bag if I need them.
Small zippered pouches 2 pieces – https://amzn.to/4aZGUla

Another must have tool to take on your rides is some kind of air pump. Steer clear of the little tiny hand pumps. You’ll wear yourself out using one of those long before your tires are pumped back up to the recommended pressure (I inflate mine to 20 lbs). This little pump is excellent! It charges via USB C to it’s own internal battery. The air hose screws into the pump and also threads onto the valve stem so you don’t have to hold it. You then simply set the tire pressure you want and click the power button. The little pump goes to work inflating your tire and stops automatically once it reaches the pressure you set. It’s pretty fast too! Comes with a nice carry bag as well.
VEEAPE Air Compressor Portable Tire Inflator: https://amzn.to/3VfF6y
From here down, these are more of a personal choice. These items are what I decided on for various reasons. For example the bag I selected fit the space I had in the frame of my bike. There are hundreds of choices for bags, phone holder, lights etc., so you may want to check out many different options that suit you better. I feel the products I chose offered good performance on a budget (I’m retired and on a limited income now).
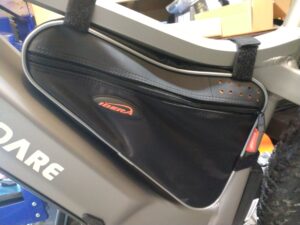
You’ll need some kind of bag to carry your “stuff” with you when you ride. I chose this bag because it fit the space in my frame really nice. I carry my patch kit, air pump and any other items I consider essential in this bag.
Ibera Bicycle Triangle Frame Bag: https://amzn.to/4bPi4Ws
 You’ll probably want to carry your cell phone with you on your rides. The real estate on the factory handlebars can be a little tight. You can add an extension bar that mounts to your handlebar and gives you extra room to mount things like a phone holder. Here again there are many different choices and lengths. I selected this 8 inch extension and it works fine to add my phone mount and my additional headlight.
Handlebar Extender Extension: https://amzn.to/3yOD0xY
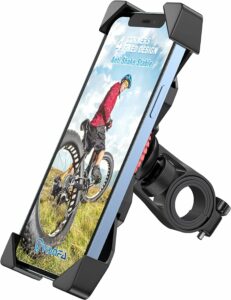
For mounting my phone while riding, I chose this mount. I like it because it uses a ratcheting mechanism to really lock your phone in place. There’s a small lever on the back that you push to release the 4 securing arms, then you spin the ratcheting wheel to tighten the arms around the phone. It’s very secure, solid and you don’t have to worry about your phone falling out.
Bike Phone Mount Anti Shake and Stable Cradle Clampe: https://amzn.to/4bRzX6Y
 If you do any riding at night or in low light conditions, you’ll want to get an upgraded head light. Typically the factory head lights are barely adequate and most also use the bikes battery for power. This headlight has a very nice aluminum body and feels hefty in the hand and is built really nice. It’s got a great feature set and uses it’s own rechargable battery for power. It also has an LCD screen that shows how long the battery will last for each setting. It also has a quick detach mount so you can remove it easily for charging. Priced very reasonbly in my opinion for what you get. As an added bonus, it also comes with a very nifty rear taillight with many different light modes. It’s bright!
Victagen Super Bright 8000 Lumen light for Night Riding, High Beam & Low Beam TypeC Rechargeable with Free Taillight: https://amzn.to/4cc11gP

The Freedare Ebikes don’t come with any place to mount a cage for a water bottle. I found this unit made in Germany and the quality is very good. Mounting is super easy using 2 velcro straps and there are rubber pads that help it stay secure on the frame. My only concern with this one is how close it is to the seat. When dismounting, it’s awfully close to the family jewels ; )
SKS Topcage Bottle Cage made in Germany: https://amzn.to/3RFIRMP
These last 3 modifications are strictly optional. You don’t need any of these to enjoy your Freedare Ebike. If you do decide to do these, you will need to be handy with hand tools and there are a couple of specialized tools you’ll most likely need to purchase. I’ll add links to the tools below and also the best videos on how to do each install.
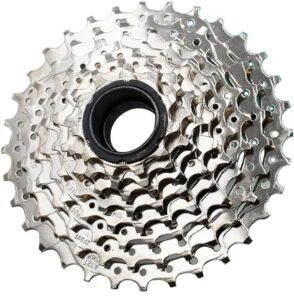
You might notice at higher speeds when you’re pedalling, that you can’t keep up with the speed of the bike. When you try to pedal, there’s no resistance. This is often called “ghost pedaling”. Torque sensors do help with this, but they don’t elminate it. I still notice it on my Freedare Saiga. To help with this, you can get a 11/32 freewheel to replace the stock 14/28. This improves the gearing at low and high speeds and will help with the “ghost pedalling” affect.
Drift Maniac 11/32 Ebike Freewheel – https://amzn.to/3RxPHDT

In order to remove the freewheel from the rear wheel, you’ll need this little tool. It’s less than ten bucks and then you’ll always have it if you need to remove or replace the freewheel in the future.
Park Tool FR-1.3 Freewheel Remover – https://amzn.to/3VonsIV
I wasn’t able to find any Freedare specific videos for removing the freewheel. It’s pretty simple. Just take some pictures with your phone so you know where things go when you reassemble the wheel. I plan on recording a Freedare specific video soon that will replace this video, but this can get you started.
 Many times Ebike companies will scrimp on components to keep the price of the bike down. You’ll see this in the seats they use (almost everyone replaces them with something more comfortable). the handlbars, the lights and also the shifting parts like the derailleur. The derailleur is one of the most important pieces and is heavily used while riding the bike. The Freedare comes with a Shimano Turney which is one of their cheapest derailleurs. It’s got a lot of plastic parts and will wear out fairly fast. Replacing it with a more robust Acera RD-M360 will improve shifting and it will last a lot longer.
Shimano Acera Rear Derailleur RD-M360 – https://amzn.to/3VLGDhr

If you do replace the derailleur, you’ll need to break (separate) the chain and then use a masterlink when you reassemble it. This little took kit contains everything you need to make the job easy.
Bike chain tool kit – https://amzn.to/3XtvoeD
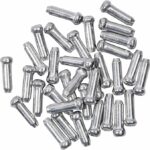 You’ll need to cut the little cable end cap off the end of the shifter cable in order to install the new derailleur. You’ll want to replace it with a new end cap once you feed the cable through the new derailleur. This keeps the cable from unwinding once it’s cut. While you only need one, the package comes with a bunch, so you’ll always have spairs.
Bike Cable End Caps – https://amzn.to/45yYEmf
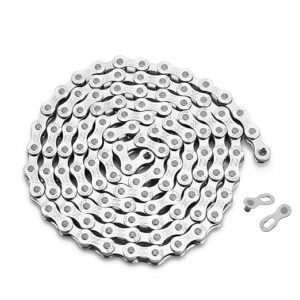
If you do upgrade to the 11/32 freewheel, you will need to get a longer chain. They are fairly inexpensive and I’m betting you’ll get a higher quality chain than what came on the bike. You will need to “size” the chain to the correct link, but fortunately it’s a very easy task. I ended up removing 2 links from the new chain. I’ll include a how to video below.
ZONKIE 6/7/8 Speed Bike Chain 122 link – https://amzn.to/45qR7FW
 To reassemble the chain once you’ve put it back on, you’ll need a master link. This is basically a new link that will reconnect both of the ends of the chain together. It snaps in place and can be removed anytime if you need to work on your bike or do maintenance. It’s great for taking the chain off the bike to oil it to avoid making a big mess ; )
KMC Master Link – https://amzn.to/4bYZYRK
Don’t let the installation of a new derailleur scare you away from doing it. I know these little engineering marvels seem magical in what they do and completely confusing to setup and adjust. I scoured Youtube and watched a ton of videos on how to adjust one of these and found what I believe is the BEST video on Youtube. Almost all the commentors on this video agree. I’ll save you that time and post the video below. For me, it made the adjusting “click” : )
Well that about wraps everything up. These are all the mods I’ve done to the bike so far. If I add any, I will update this page. If you have any questions or suggestions, please fill out the form on my Contact page. I will respond to all messages. Thanks again for stopping by!
Greg


I own a FREEDARE eden . I like the bike however recently I am experiencing a problem.
When I stop for a few minutes, like at a red light. Start off again the peddle response is weak or inconsistent.
Stop again and turn everything off and back on again and it goes back to normal.
Having this problem since last summer.
Around 2000 kms on it so far.
Do you have any experience with this problem?
Hi Harold. I’ve not had that problem with my bike.
I would reach out to them via their Contact page
to see if they can offer some help.
https://www.freedarebike.com/pages/contact
Let me know if you hear back and how it goes.
Greg